This is article is part of a 5 part series. Refer to the other parts here
Now that we have captured our first reference image, we can import this reference image and start creating our production image right? Well, let do some reference image clean up first.
Image Cleanup
Why do this step? We might have something left behind in the image we do not want to put in our production image. E.g. we have some log files we do not need. So we can mount the image, remove those files and save the image.
From our C:\DeploymentShare\Captures folder, we can run the following command:
dism /Get-WimInfo /WimFile:B01.wimThis outputs:
Deployment Image Servicing and Management tool
Version: 10.0.19041.844
Details for image : B01.wim
Index : 1
Name : B01CDrive
Description : <undefined>
Size : 19,180,124,733 bytes
The operation completed successfully.
Note the Index. We will need this later. Typically, there will only be 1. Create a temporary directory somewhere where the WIM file can be mounted. I will be using C:\Apps\MDT\MountedWIM
Then mount the WIM file using the following command:
DISM /Mount-image /imagefile:b01.wim /index:1 /MountDir:C:\Apps\MDT\MountedWIMAfter a few seconds, the WIM file is mounted and you can access the files in C:\Apps\MDT\MountedWIM (or where you created the temp folder)
Deployment Image Servicing and Management tool
Version: 10.0.19041.844
Mounting image
[==========================100.0%==========================]
The operation completed successfully.
In the folder, I can see the unwanted file from running Windows 10 Decrapifier in the root drive (WindowsDCtranscript.txt).
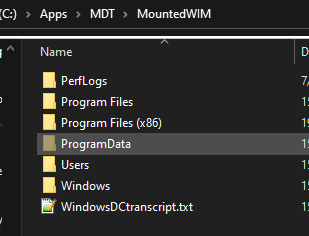
You can delete this file. You can also make any other change as necessary, adding or removing files.
Once you are done you can save the change using the following command:
Dism /Unmount-image /MountDir:C:\Apps\MDT\MountedWIM /CommitThis should take a few minutes
Deployment Image Servicing and Management tool
Version: 10.0.19041.844
Saving image
[==========================100.0%==========================]
Unmounting image
[==========================100.0%==========================]
Error: 0xc1420117
The directory could not be completely unmounted.  This is usually due to applications that still have files opened within the mount directory.  Close these files and unmount again to complete the unmount process.
The error is fine, as the image was saved. If you try again, you get a different error, saying the commit before was successful. To clean up the files, you can run the command with the /discard switch. If that still fails, try again later after a reboot.
Dism /Unmount-image /MountDir:C:\Apps\MDT\MountedWIM /DiscardSo this is a useful way to make quick changes without having to recapture the image again.
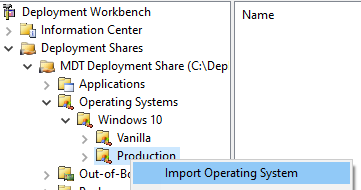
Importing Image
Import the saved WIM file into the Production folder in MDT
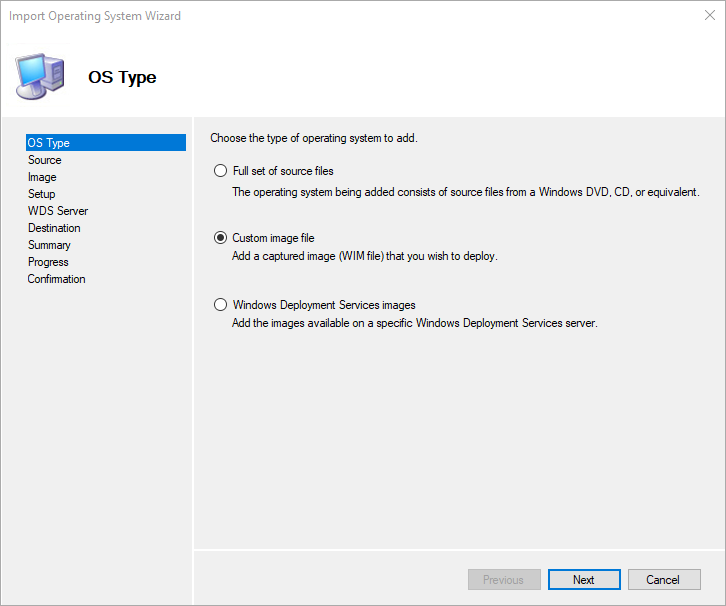
Choose custom image file
Select the WIM file and choose to move it as well. This will save some disk space.
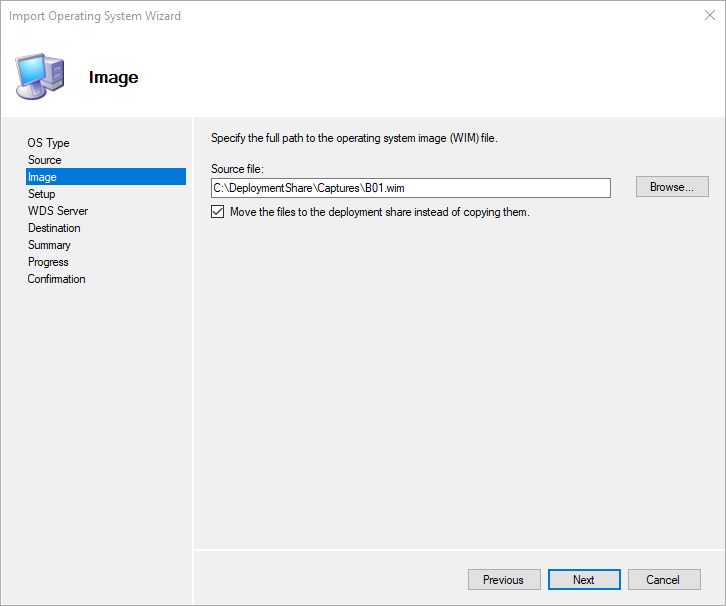
You can click Next through the rest of the steps until it is finished.
Adding Applications
We can now also add all our applications in. This is the same as we did for Office 365, so I will not repeat the steps here, just show you the command lines for what I have used.
7Zip
7z2102-x64.exe /SFoxit Reader
msiexec.exe /i FoxitReader110_enu_Setup.msi ALLUSERS=1 DESKTOP_SHORTCUT=0 COLLECT_DATA=0 CPDF_DISABLE=1 CPDF_SERVICE_AUTO_START=0 INTERNET_DISABLE=1 STARTMENU_SHORTCUT_ACTIVATION=0 STARTMENU_SHORTCUT_UNINSTALL=0 /quiet /norestartConEmu
msiexec.exe /i ConEmu.210422.x64.msi /norestart /quietCustomFonts
I needed to edit the script to make it work properly in MDT. There is section where parameters declared:
#*******************************************************************
# Declare Parameters
#*******************************************************************
param(
    [string] $path = "",
    [switch] $help = $false
)
We need to change the empty string to use the script folder + the fonts folder:
#*******************************************************************
# Declare Parameters
#*******************************************************************
param(
    [string] $path = "$PSScriptRoot\Fonts",
    [switch] $help = $false
)
Save the script and add it MDT with the following command line:
powershell.exe -ExecutionPolicy Bypass -File Add-Font.ps1[info]Application folder only has the script file, and a subfolder called Fonts has all the font files[/info]
Google Chrome
ChromeStandaloneSetup64.exe /silent /installZoom
msiexec /i ZoomInstallerFull.msi ZoomAutoUpdate="true" EnableSilentAutoUpdate="true" /quiet /norestartAdding Drivers
We already have our drivers, but we need to know a few things about our machines first. We need to find the model information. This will be useful for organizing our driver layout in MDT. This will be used when MDT needs to know where to get the drivers from.
I will be using the folder structure of Manufacturer\Model. You can follow the same or use something else if you like.
You can use the following Powershell code:
(Get-WmiObject -Class:Win32_ComputerSystem).Model(Get-WmiObject -Class:Win32_ComputerSystem).ManufacturerIf you need something complex, you see all the options using:
(Get-WmiObject -Class:Win32_ComputerSystem) | select *This shows us the information we need:
Manufacturer                : Dell Inc.
Model                       : Latitude 7490
You will have to follow this information exactly. Note the period or dot after Dell Inc.
Unfortunately, Lenovo does not have useful information for the model. Instead, the information similar to model information from other manufacturers is available in a different property called SystemFamily. So for me, for Lenovo machines, I need to make some modifications to MDT. You can follow below if you have a Lenovo machine as well.
Edit the file C:\DeploymentShare\Scripts\ZTIGather.wsf. Look for the following line:
' Get the make, model, and memory from the Win32_ComputerSystem classThe code below this line looks as follows:
Set objResults = objWMI.InstancesOf("Win32_ComputerSystem")
		For each objInstance in objResults
			If not IsNull(objInstance.Manufacturer) then
				sMake = Trim(objInstance.Manufacturer)
			End if
			If not IsNull(objInstance.Model) then
				sModel = Trim(objInstance.Model)
			End if
			If not IsNull(objInstance.TotalPhysicalMemory) then
				sMemory = Trim(Int(objInstance.TotalPhysicalMemory / 1024 / 1024))
			End if
		Next
We will add a check for Lenovo here and do something different:
Set objResults = objWMI.InstancesOf("Win32_ComputerSystem")
		For each objInstance in objResults
			If not IsNull(objInstance.Manufacturer) then
				sMake = Trim(objInstance.Manufacturer)
			End if
			If sMake = "LENOVO" Then
				If not IsNull(objInstance.SystemFamily) then
					sModel = Trim(objInstance.SystemFamily)
				End if
			Else
				If not IsNull(objInstance.Model) then
					sModel = Trim(objInstance.Model)
				End if
			End if
			If not IsNull(objInstance.TotalPhysicalMemory) then
				sMemory = Trim(Int(objInstance.TotalPhysicalMemory / 1024 / 1024))
			End if
		Next
We are just checking if the Manufacturer is Lenovo, and if it is, get the model info from SystemFamily, instead of model. For all other manufacturers, use the model information.
We can now create our driver folder structure according to the models we have, using the information we found using WMI earlier.
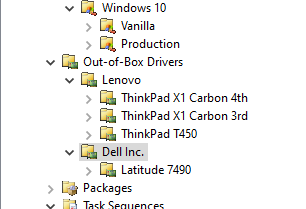
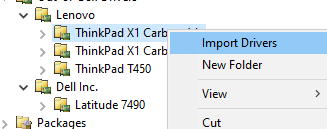
You can now right click on each model and import the drivers.
Choose the path where we had extracted our drivers earlier.
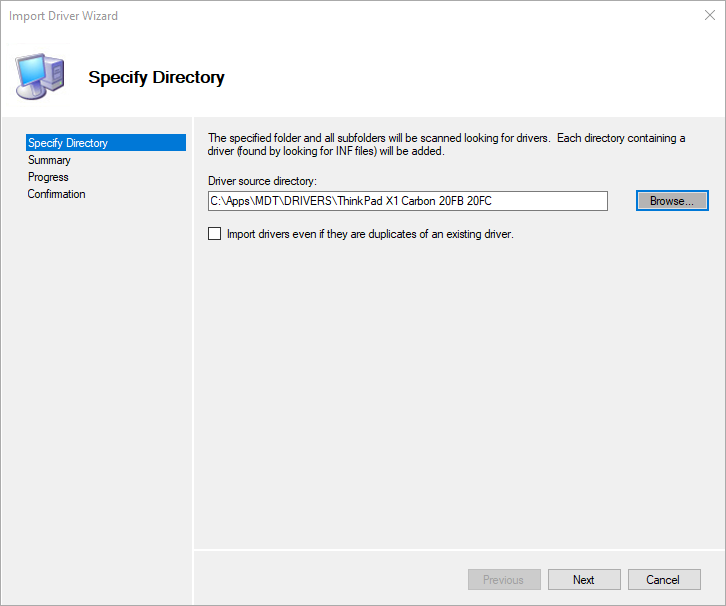
Wait for the import process to complete.
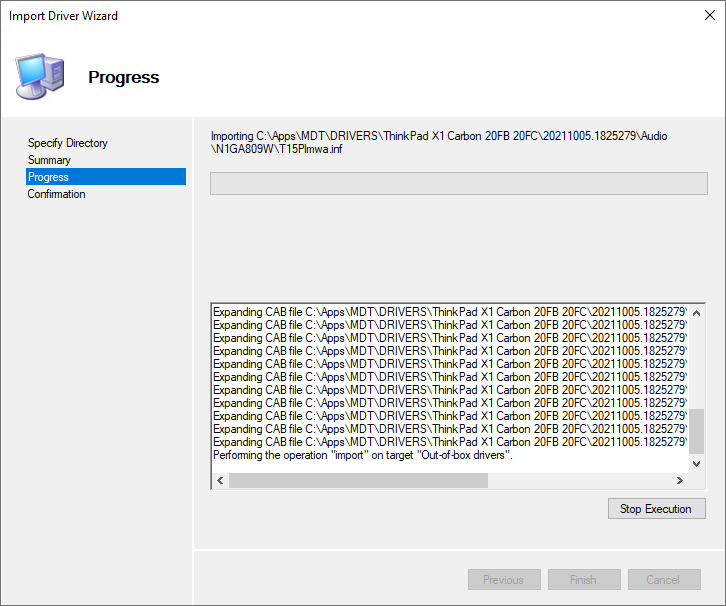
Once it is done, there might be a few warnings, but nothing major. If you also examine C:\DeploymentShare\Out-of-Box Drivers, you will see the drivers, but it is not arranged by the folder structure we have set.
Creating Task Sequence.
We can now create our production task sequence in the Production task sequence folder.
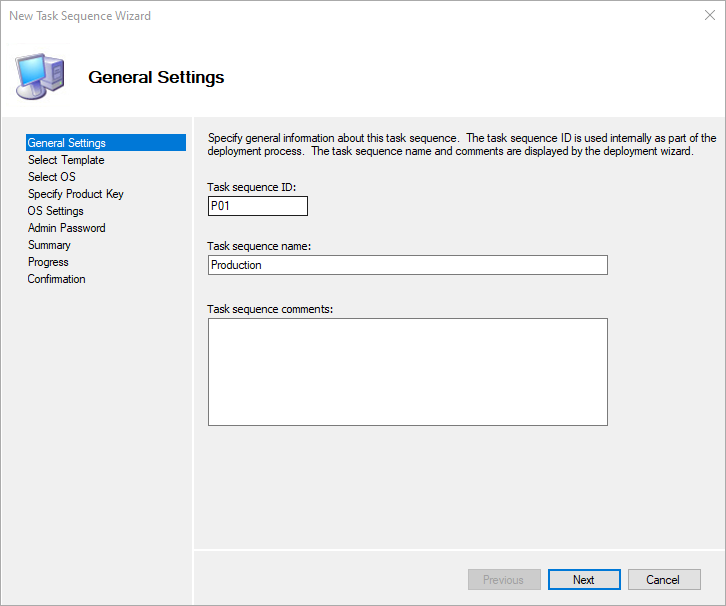
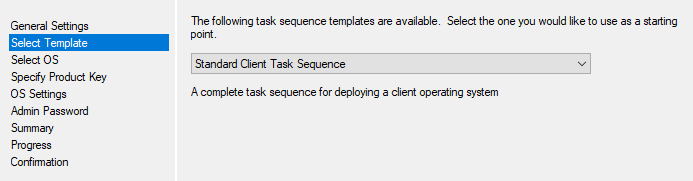
This will be a standard task sequence.
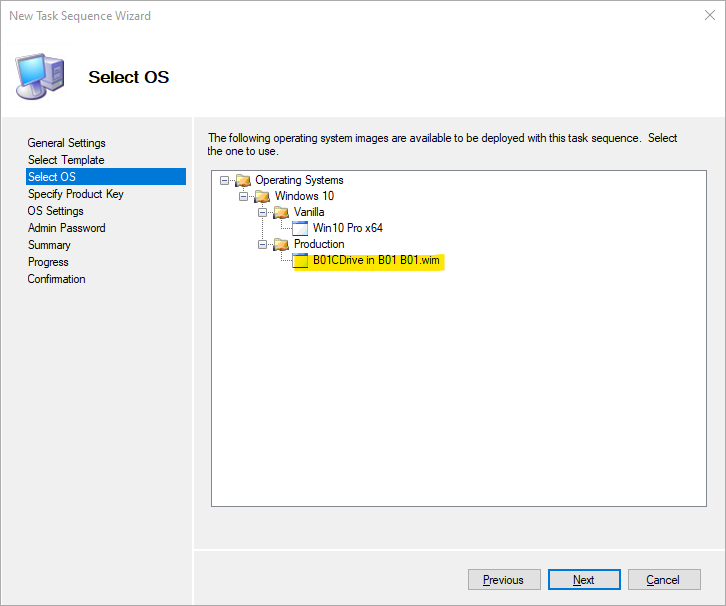
Select our captured WIM file.
The rest of the settings we can use the same as we did before. No Product Key, add User and Organization details, do not specify an Admin password, and then finish.
Editing Production Task Sequence
To make sure our drivers are added correctly, we need to tell MDT where to get the drivers from.
Edit the task sequence and open the Preinstall group
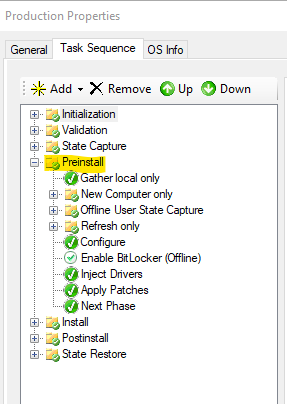
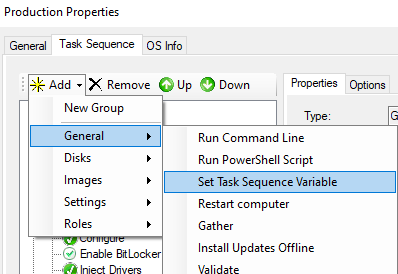
We want to add a variable here. Add > General > Set Task Sequence Variable
Add it before Inject Drivers.
Task sequence variable:
DriverGroup001Value:
%Make%\%Model%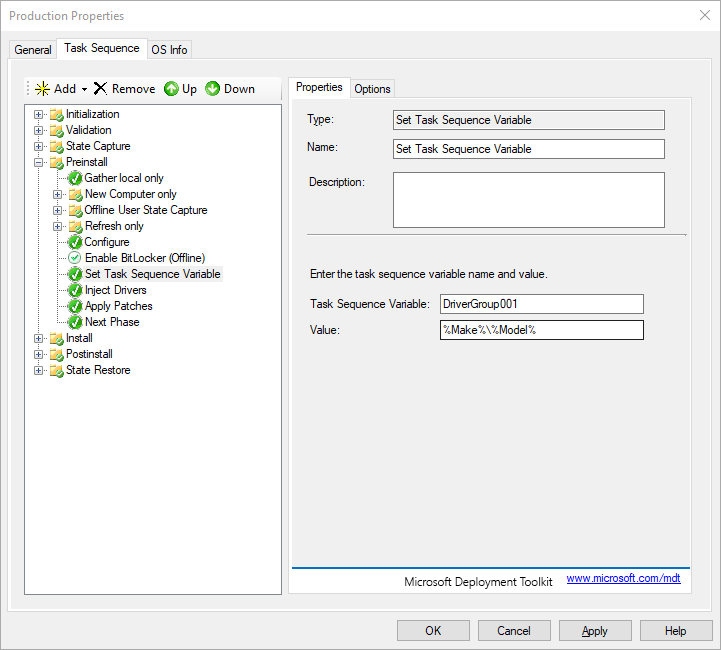
Click Ok.
We can now update the deployment share, and try this out on our Production VM.
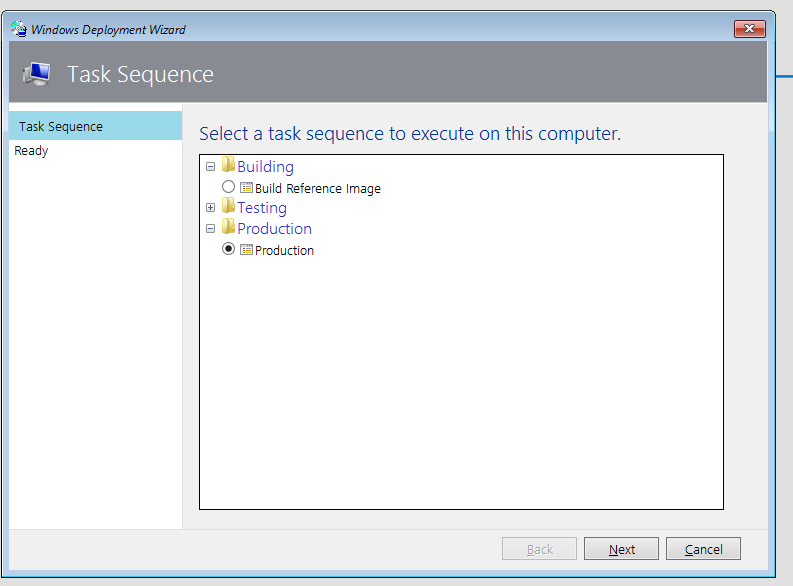
Testing the Task Sequence
On our production VM, select to run the production build task sequence.
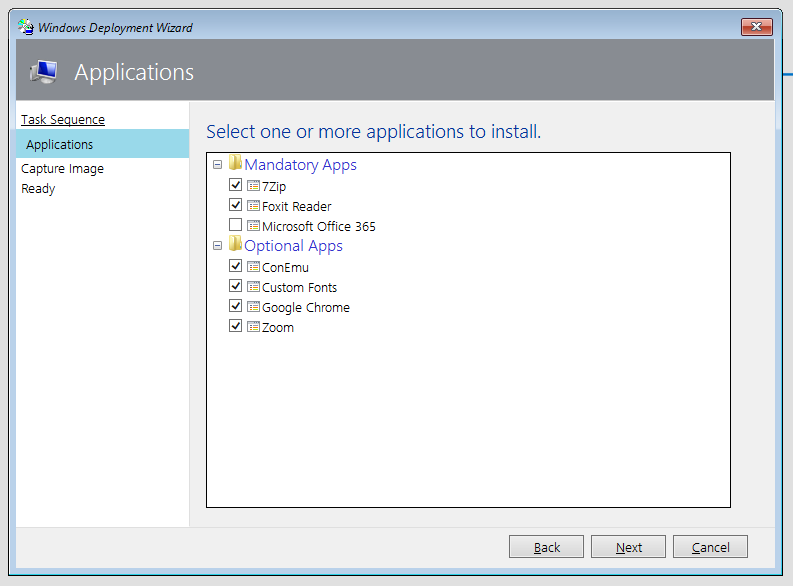
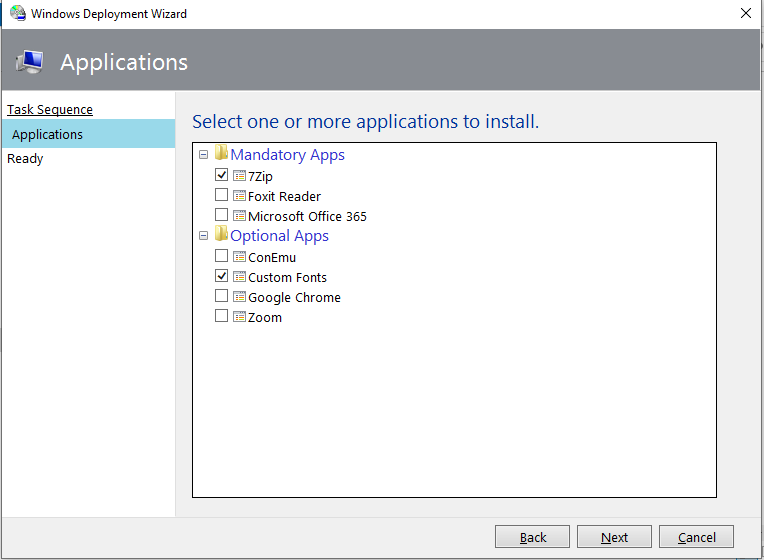
Choose the apps to install. We already have Office in the image, so we do not need to select Office.
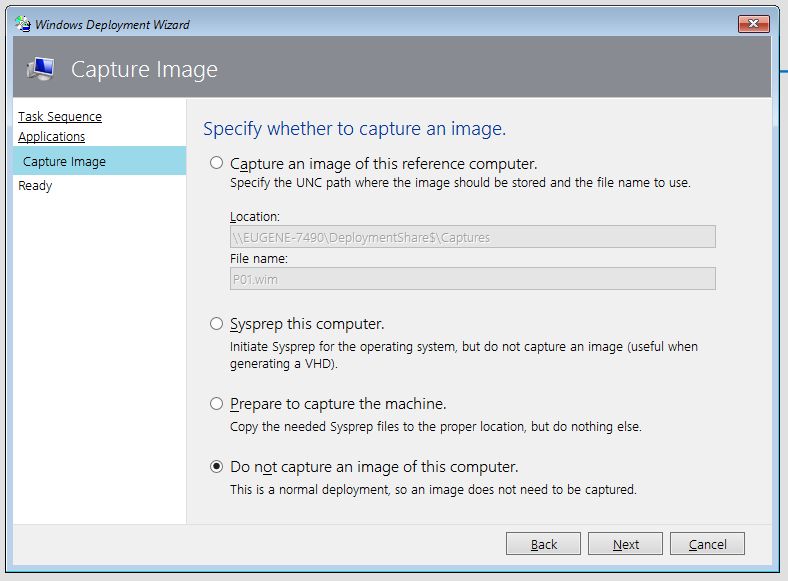
We do not need to capture.
And click Begin and let it run.
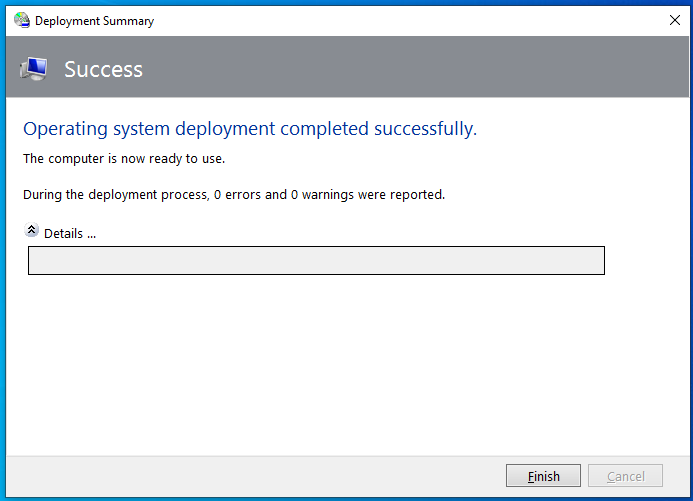
Like before, the task sequence will install our applications and finish. We want to make sure everything installed correctly.

It might be obvious what is wrong, or it might not be. So we will need to fix it. But to retest, you can just create a simple task sequence to retest the actions or steps which failed.
You can start off with the following template:
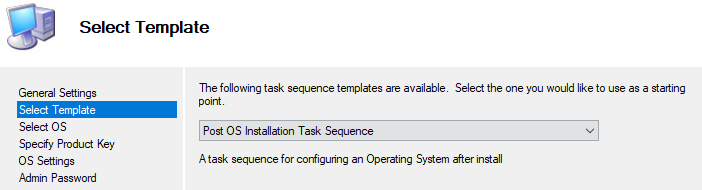
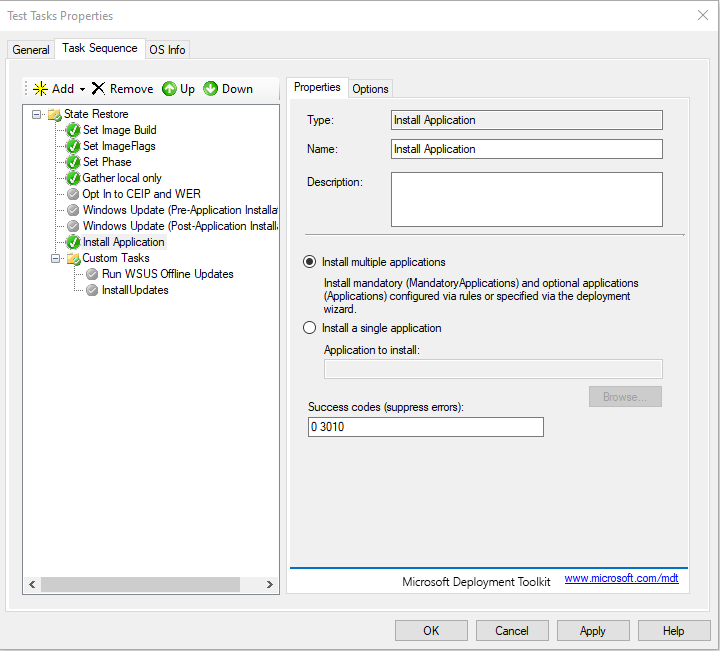
Then remove the unnecessary steps and add Install Application to the steps.
You can then open the deployment share from the VM (\\host\DeploymentShare$) and then run LiteTouch.vbs from the Scripts folder. This will start the Deployment Wizard and you can choose your test task sequence.
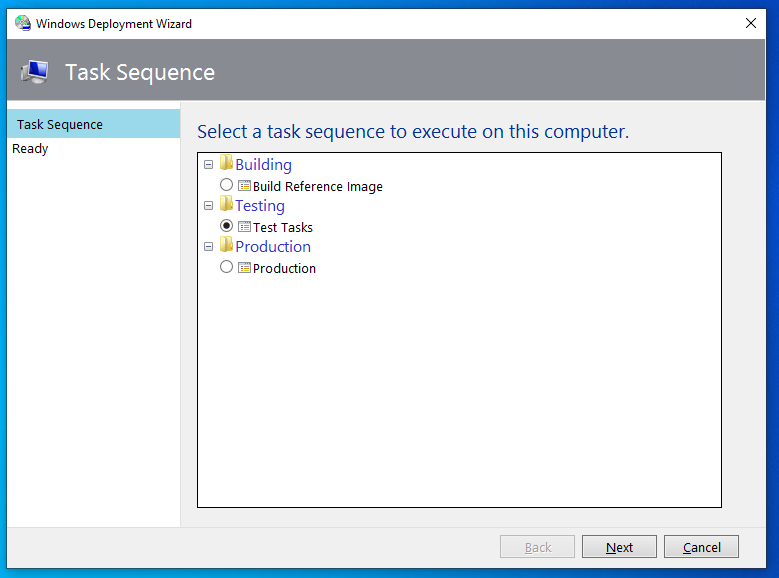
Select the applications which failed earlier (which you have fixed) to try again.
And now everything works fine.
That is it for part 4. In part 5, we create a selection profile and then create our offline media, to run from USB.
See you in part 5.