If you have not read part 1 yet, I suggest you read that post first.
In part 1, we set up a basic server and nothing else. It is time to add more bits to our server and create our test lab domain. When we ended part 1, we shut down our server. Time to boot it up, and login as the local administrator.
Rename Server And Static IP
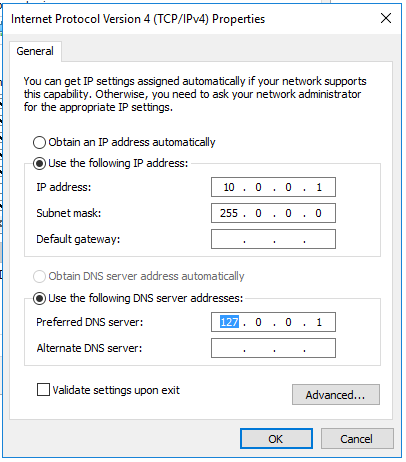
First, we need to rename our server and set a static IP for the server. I’m using the IP range of 10.0.0.x. So the server IP is going to be 10.0.01.
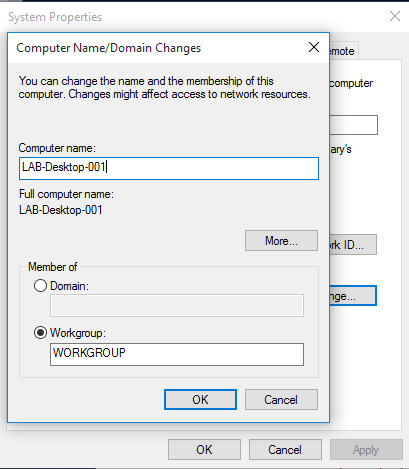
You can proceed to rename your server to LAB-DC or whatever other name you prefer. You can do this from the System Properties (WinLogo + Pause/Break) and then click Change Settings. Click on Change.

Enter your new server name
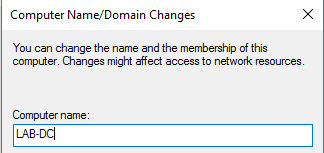
Click OK and then restart
Add New Roles
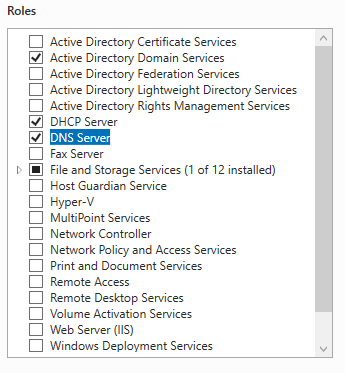
Next, after the restart, login again as local administrator, and from the Server Manager, we need to add 3 server roles for our server:
- Active Directory Domain Services
- DHCP Server
- DNS Server
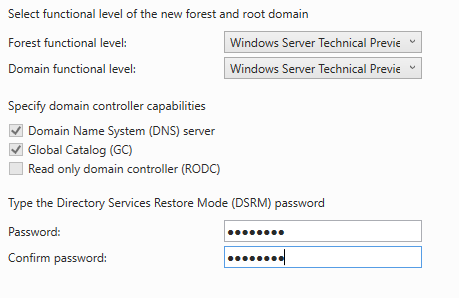
For our Domain Services setup, we will be creating a new Forest.
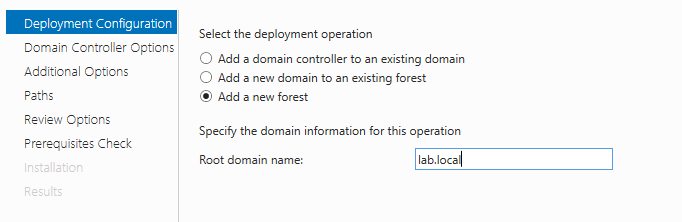
Might as well set your forest and domain functional level to the highest available. You will also need to enter a new recovery password here as well.
Approve and click next through all the prompts. And then wait for the installation to finish. Do not promote server to domain controller yet.
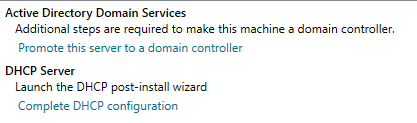
You can however, go ahead and click on the Complete DHCP configuration.
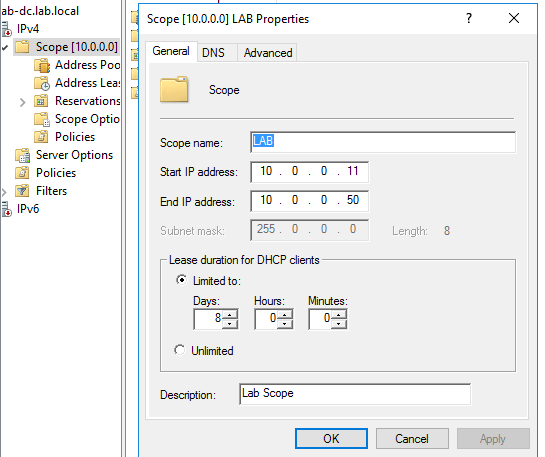
Configure DHCP
Add a new IP scope to the IPv4. 10 machines should be more than enough on a single host. But do plan out what you need here. For simplicity sake, I will be setting the range from 11 to 50.
You can go ahead to restart now.
Setting Up Domain
Once you login, in Server Manager, click on the warning icon to complete the promote to Domain Controller process. Complete all the steps and then you will need to restart.
Login to your new domain using the domain administrator account. We now need to create a new computer object.
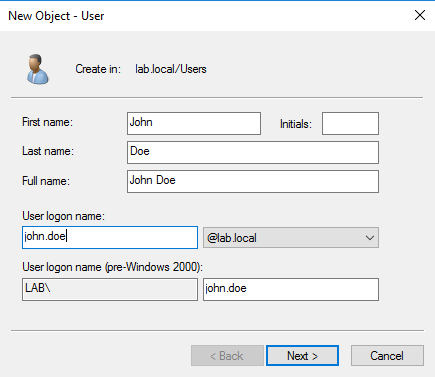
Create Computer And User Objects
Launch server Manager and use either AD Administrative Center or AD Users and Computers snapin.
Create a new computer object in Computers OU.
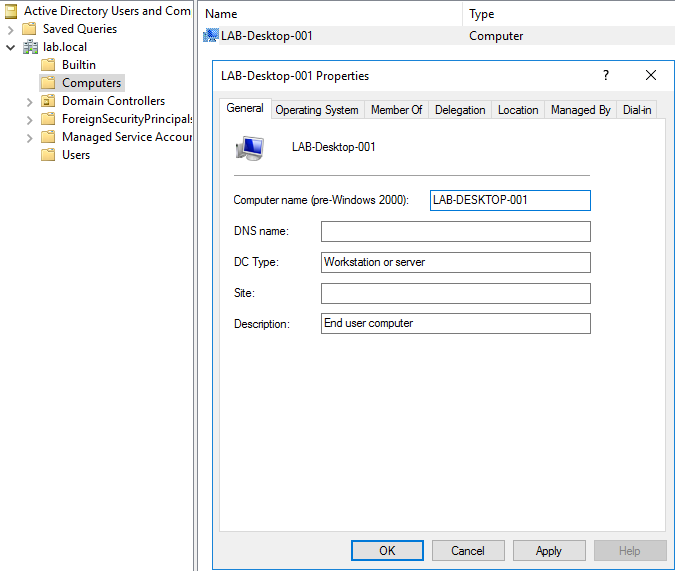
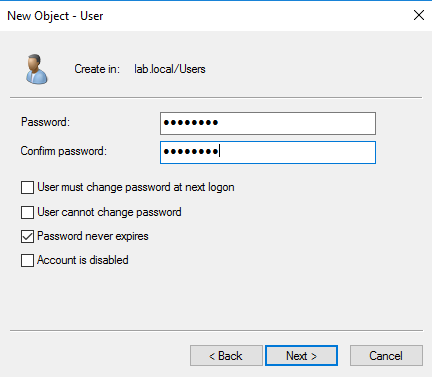
Also create a new user account here. This will be used on the client machine later on.
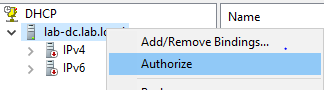
Authorize DHCP Server
Finally on the server, the DHCP server needs to be authorized to give our IP addresses. Open the DHCP console from Server Manager. Right click on the server and choose Authorize.
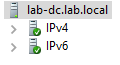
After a few seconds, both IPv4 and IPv6 will turn green, indicating both services are running.
We are done with our server for now. It’s time to create our Windows 10 machine.
Setup Windows 10 VM
On the Windows 10 VM, ensure the DVD drive is pointing to your Windows 10 ISO file. Boot up the Windows 10 VM and begin installing Windows 10 as normal. At the end of the installation, you will be prompted to enter a username and password. Just choose any administrator username for now, without a password.
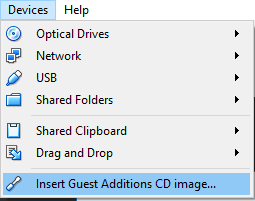
Once the login prompt appears, login as administrator. From the VirtualBox menu, select Devices, and choose Insert Guest Additions CD Image.
In your VM, open the DVD drive and run the setup. Do not restart after the setup is done. We have a few more things to do.
We will need to verify our DHCP server is working and the Windows 10 client machine has got an IP from our server. Open a command prompt and type ipconfig.

If you see your server IP as the gateway, and the IP address from the DHCP scope configured earlier, then all is good.
Rename Client Machine And Join Domain
Next, rename your Windows 10 machine, to the computer object we had created earlier.
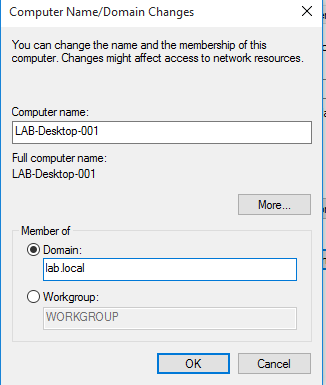
Click OK, and go ahead to restart at this point. After the restart, login as administrator. We will now join the machine to our LAB domain. In same settings where we renamed the computer, we will change from Member Of Workgroup to Domain. Key in the domain name setup earlier (lab.local) and click OK.
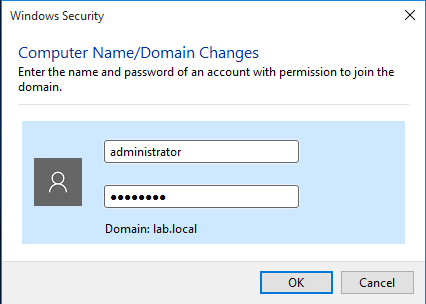
You will now need to enter the Domain administrator username and password (not the local machine administrator). Click OK
If all goes well, you should be able to now join LAB.local domain. Go ahead and restart.
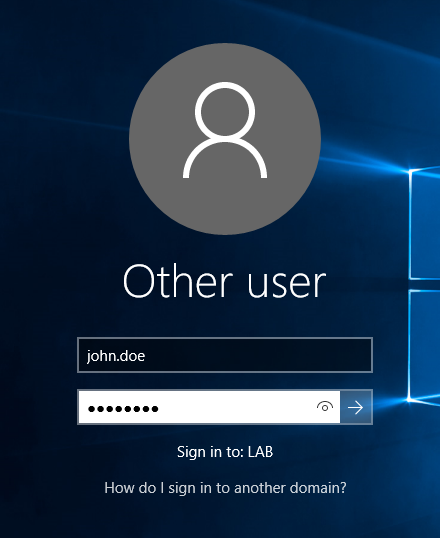
Once you reboot, you should now be able to login with a local administrator account, or as Other user, to login using a domain account. You can go ahead and try logging in as Other user, using the John Doe account created earlier.
Once you have logged in, congratulate yourself 🙂 You have got your working domain with 1 client and 1 user connected together.
Next Steps
We will stop here for a moment and proceed to setup SCCM in part 3. For now, consider setting up some group policies for Windows 10.
That it for now.
Refer to other parts
Hey, Thanks for this blog! I’ve been working through it at home, and really appreciate having your guide in front of me. Thought I’d reach-out now, in case you’re thinking of taking this down anytime soon! (please don’t!)
Cheers from Ottawa,
Mark