SETTING UP A VIRTUAL SCCM TESTLAB - PART 3
This post picks up after part 1 and part 2. I suggest you read both parts first to understand what is happening here in part 3.
Anyway, this has been long overdue :-)
In this part, we will be looking at setting up some initial group policies, setting up firewall rules, installing SCCM prerequisites, and finally installing SCCM.
Well, lets get started then
Initial Group Policies
We want to create an initial group policy for user settings. This is more for convenience and you do not actually have to set this up. However, it makes is easier to add any user settings later.
User Settings Policy
Launch gpmc.msc
Create new group policy Object called Default User Settings
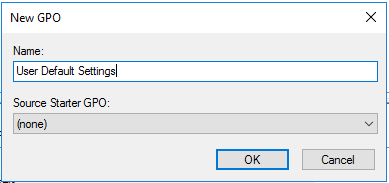
Edit the policy.
First we want to show extensions of file type. By default, Windows hides known file extensions (like .txt or .docx). This is a possible security risk, and also makes changing file extensions much harder.
Expand User Configuration > Preferences > Control Panel Settings > Folder Options
Right click and add new Folder Option (Vista)
Uncheck “Hide extensions for known file types”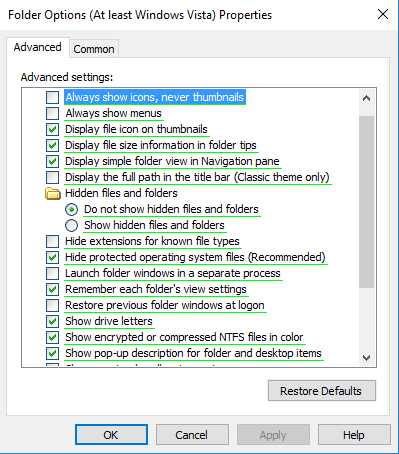
We also want to change the Windows 10 default Explorer location to “This Computer” instead of the default “Quick Access”. You can read more about this here.
Expand User Configuration > Preferences > Windows Settings > Registry
Right click and create new registry item
Hive: HKEY_CURRENT_USER
Key Path: SOFTWARE\Microsoft\Windows\CurrentVersion\Explorer\Advanced
Value Name:LaunchTo
Value Type: REG_DWORD
Value Data:1
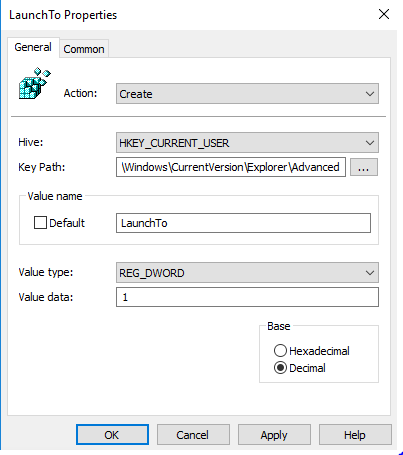
There could be other user settings you may want to configure now, as you wish. But this is sufficient to make life easier for our users.
Workstation Policy
Now we will want to create a Workstation policy. This will later contain the firewall rules to enable SCCM to communicate properly with client machines. We also want to limit this to only desktop machines, so we will filter this group policy to only apply for desktop OSes.
Note, in our test lab here, we only use Windows Firewall. If you are planning for any other firewall, you need to ensure the ports below are allowed as well.
Create new WMI Filter
Click add and enter the following query:
Select \* from Win32\_OperatingSystem WHERE ProductType=1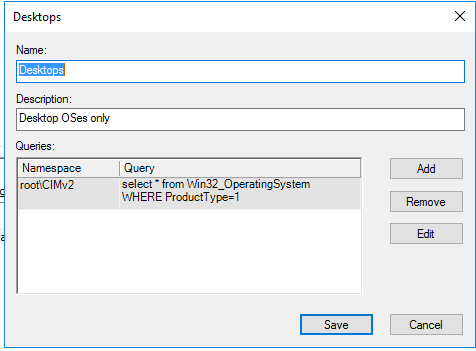
Save this as filter as “Desktops”
Create new Workstation Policy
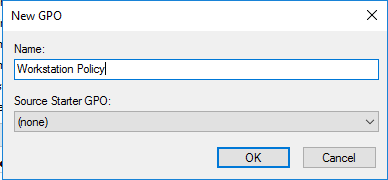
Expand Computer Configuration > Policies > Windows Settings > Security Settings > Windows Firewall with Advanced Security.
Expand Windows Firewall with Advanced Security and select Inbound Rules
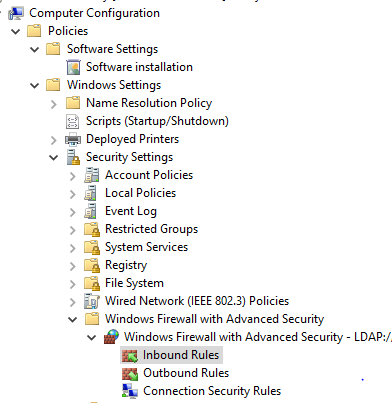
Right Click on Inbound Rules and select New Rule
Select Predefined rule type and choose File and Printer Sharing. Click Next
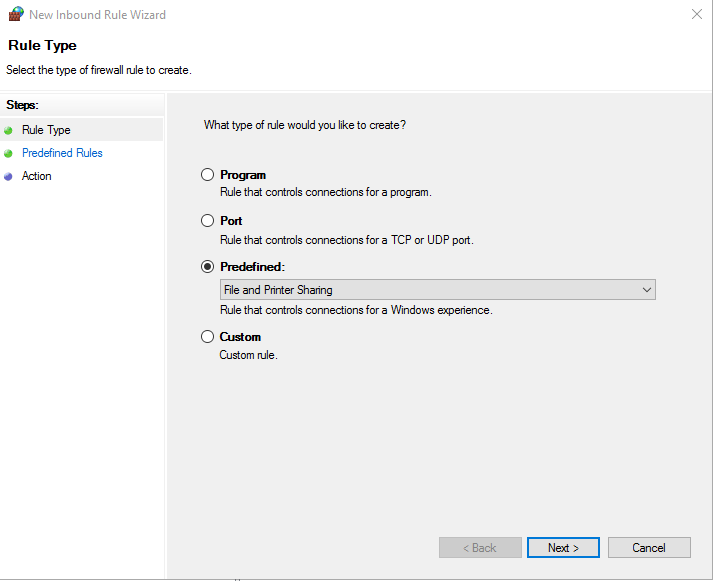
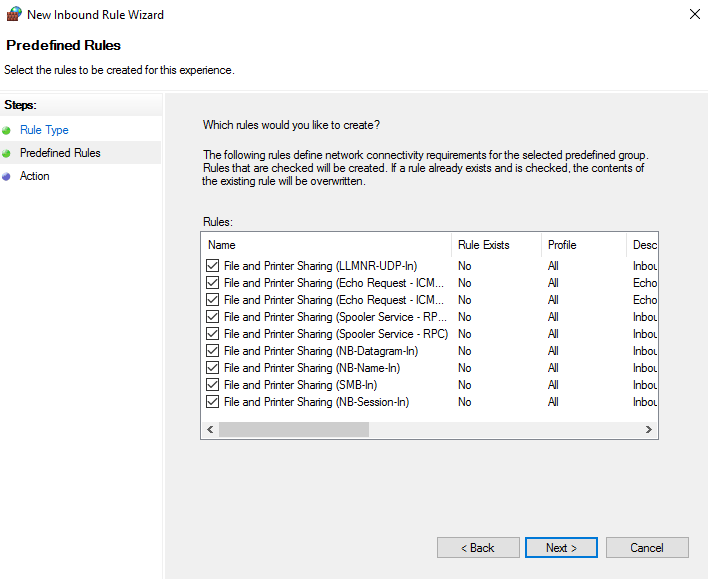
Check all the predefined rules. Click next
Choose action Allow the connection
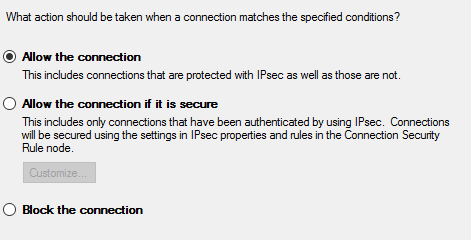
Repeat the same action for Outbound Rules
Close
For our workstation policy, from the WMI Filtering drop down, choose Desktops WMI filter
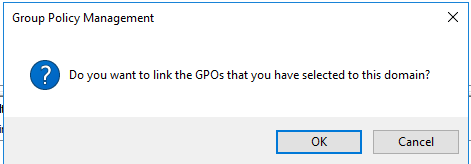
Drag both Workstation Policy and User Default Settings to domain root (to link Policy to domain)
Click OK when the prompt appears
Ok, that should be all we need for now. To test the policy out, start or restart your client machine and see if the policies have been applied. Open Windows Firewall with Advanced Security on the client machine (you need to use admin credentials to open this). Look for any File and Printer Sharing rule with a green tick. Double click it.
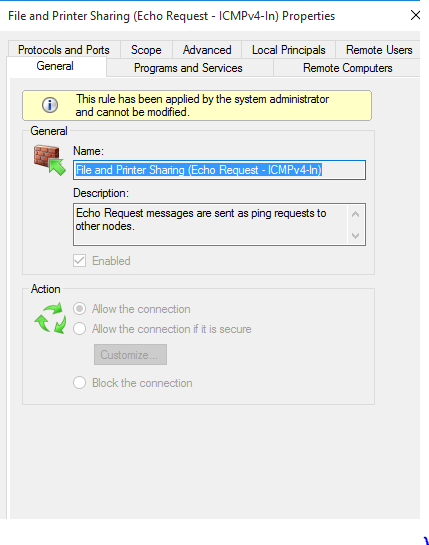
The message This rule has been applied by the system administrator and cannot be modified" indicates the rule was applied using group policy. So we know the rule was applied by group policy successfully. You can shutdown your client machine for now.
SCCM prerequisites
We now need to install several prerequisites before we install SCCM.
Add Server Roles
There are several Windows Server roles and feature you need to install as well. This can be fun to do manually, you can use a bit of powershell to get this done, which is what i’m going to do today
Open a powershell window and type the following commands:
Import-Module ServerManager

Add-WindowsFeature Web-Windows-Auth,Web-ISAPI-Ext,Web-Metabase,Web-WMI,BITS,RDC,NET-Framework-Features,Web-Asp-Net,Web-Asp-Net45,NET-HTTP-Activation,NET-Non-HTTP-Activ,Web-Static-Content,Web-Default-Doc,Web-Dir-Browsing,Web-Http-Errors,Web-Http-Redirect,Web-App-Dev,Web-Net-Ext,Web-Net-Ext45,Web-ISAPI-Filter,Web-Health,Web-Http-Logging,Web-Log-Libraries,Web-Request-Monitor,Web-HTTP-Tracing,Web-Security,Web-Filtering,Web-Performance,Web-Stat-Compression,Web-Mgmt-Console,Web-Scripting-Tools,Web-Mgmt-Compat -Restart -Source D:\sources\sxs
The last bit, -Source D:\sources\sxs, tells Windows to look for the .NET Framework files from this location. This would be the same location as our Windows Server installation disk. Make sure the Windows Server ISO is mounted or loaded in VirtualBox.
Give it a few minutes to run. Once done, you should restart, but I’m going to shutdown instead. I’m going to add a new hard disk to the server vm, to serve as a data drive.
Add Data Drive
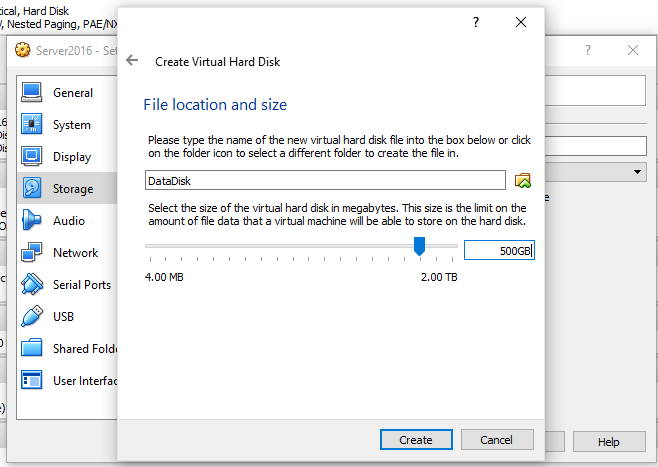
Add a new hard disk, 500GB, called DataDisk
Start up server
In Server Manager, select Files and Storage Servers > Volumes > Disks

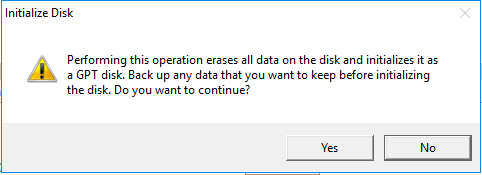
Right click on the new disk and click Initialize
Click Yes when the warning appears.
Right click on the new disk again and choose New Volume
Go through all the prompts and select drive letter (I’m going with G: drive) and choose NTFS format
On your data drive, create 4 new folder
Apps - To install applications
Data - Data files, basically for our database
REPO - Repository for SCCM files
Sources - Installation source files and media
With our data disk ready, you may want to copy some of the files from your VirtualBox share to the local server drive (G:\Sources)
Install Windows 10 ADK
We downloaded Windows 10 ADK in part 1, and saved the files on our workstation. Use the downloaded files to install Windows 10 ADK.
Run adksetup.exe
Change installation folder to G:\Apps\Windows Kits\10\
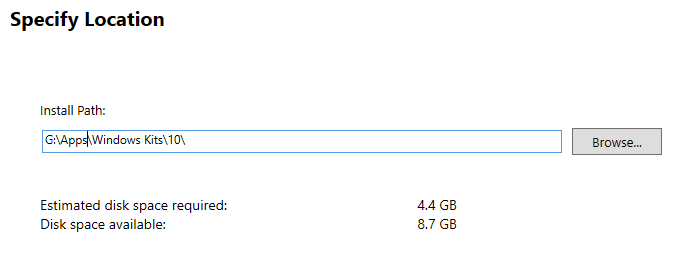
Click Next
No to participate in CEIP
Accept License Agreement
Select
Deployment Tools
Windows Preinstallation Environment (Windows PE)
User State Migration Tool (USMT).
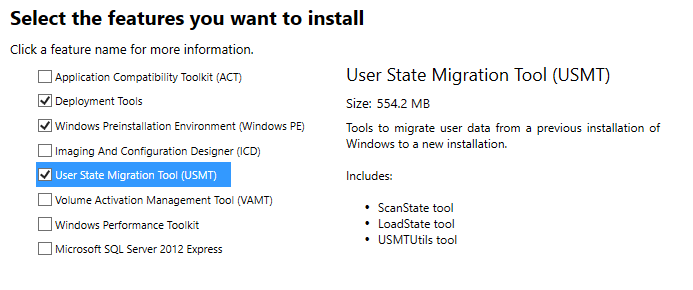
Click Install
Install SQL Server 2016
Change VM settings, DVD Drive to SQL Server 2016 ISO file
Run Setup.exe from the DVD drive.
Choose Installation and select New SQL Server stand-alone installation or add features to an existing installation

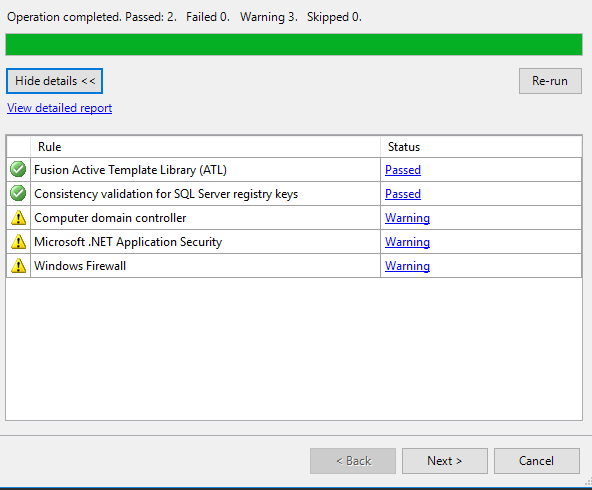
Click next through the prompts until you reach Install Rules
There may be a few warnings, but it is safe to proceed. Click Next
Select Database Engine Services and Reporting Services - Native
Change the installation path to our data drive
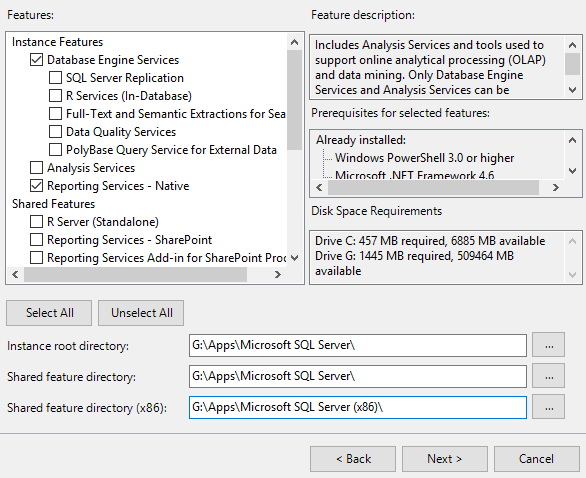
We will use the default instance name. Click Next
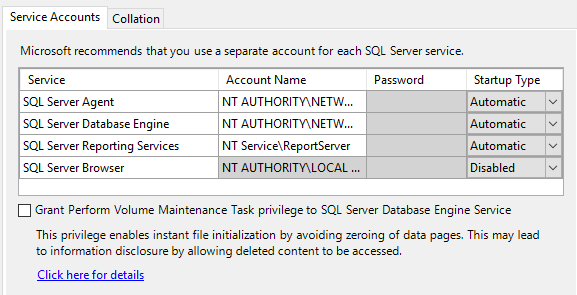
Change all the services to run using the NT AUTHORITY\NETWORK SERVICE account, except for reporting services and SQL Server Browser (leave this as the default)
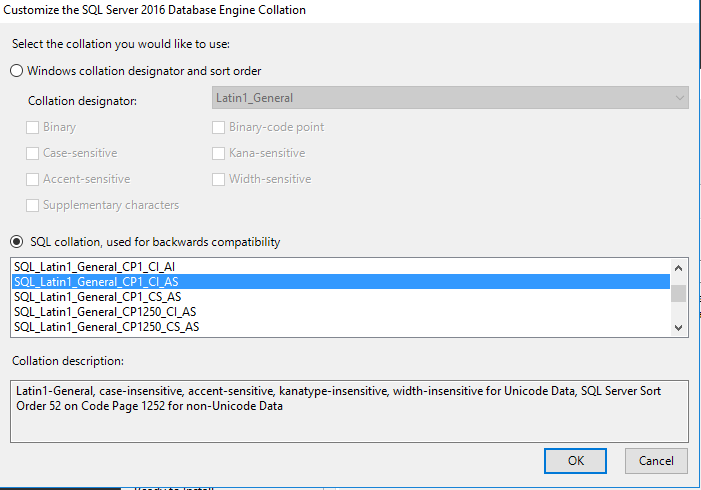
In the Collation tab, change the collation to SQL_Latin1_General_CP1_CI_AS. Click OK
Click Next
Click to Add Current User as administrator of the server
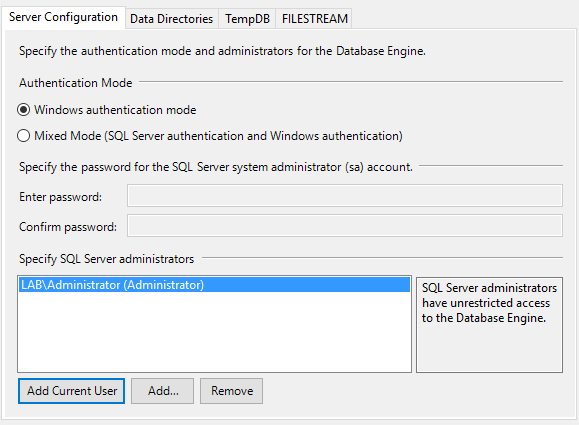
In the Data Directories tab, change the data paths to G:\Data
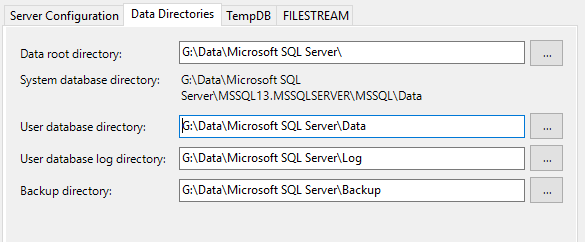
Click Next through the next steps and finally click Install
Close install after is is done.
Highly recommended, but optional, you can also install the SQL Server Management Studio on the server. Get the download files from here.
Install SCCM
We have got all our prerequisites installed, now it is time to install SCCM. Congratulations if you have made it this far :-)
Double click SCCM ISO file to mount it.
Launch splash.hta
Click Install
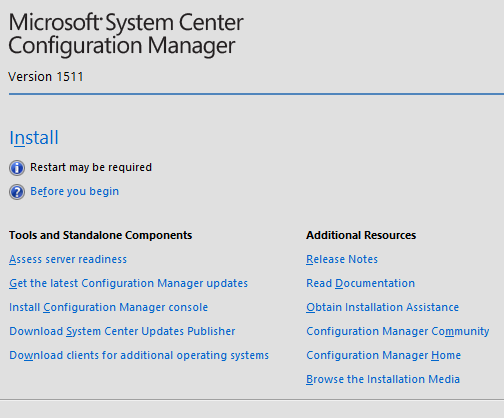
Proceed through the steps, selecting to install an evaluation version.
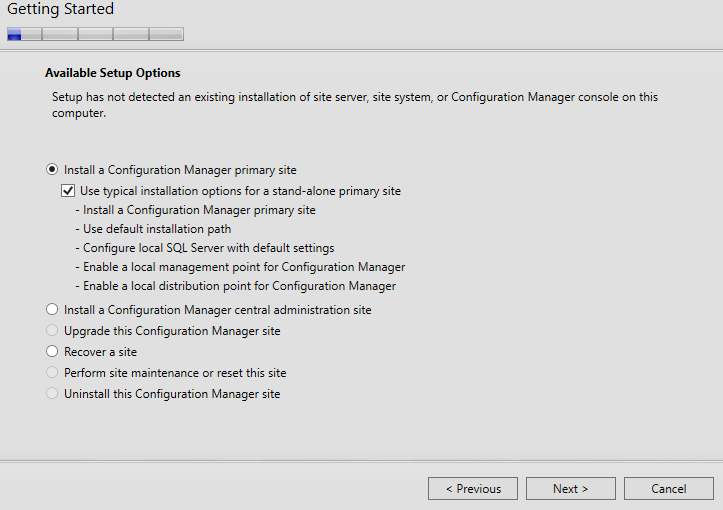
Select the first option to install a Primary site and tick use typical installation options.
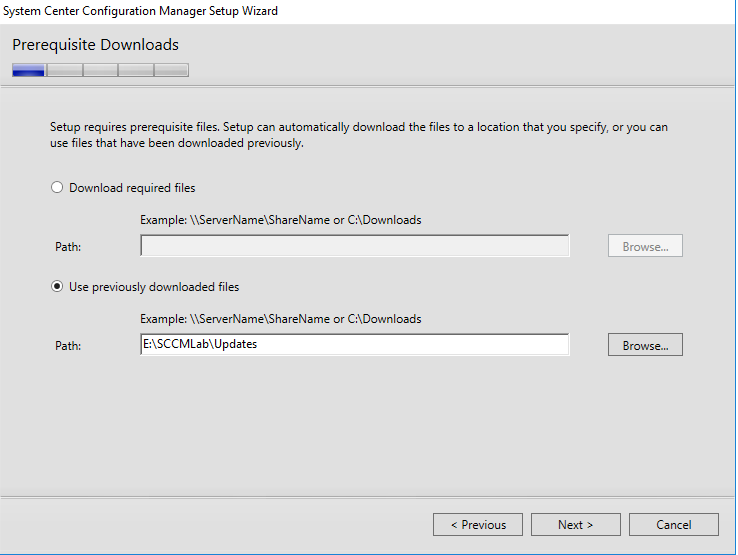
Accept all the license agreements. For the prerequisite download, choose to use previously downloaded file.
I have mine on a mapped path on my VirtualBox host. Click next and wait as the setup verifies the downloaded files.
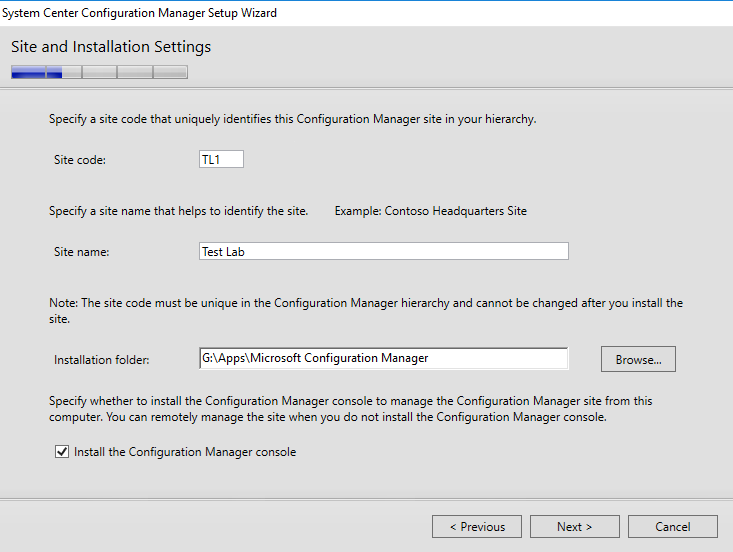
Enter your site details. I’ll be using TL1 for my lab, and install to the Data drive setup earlier.
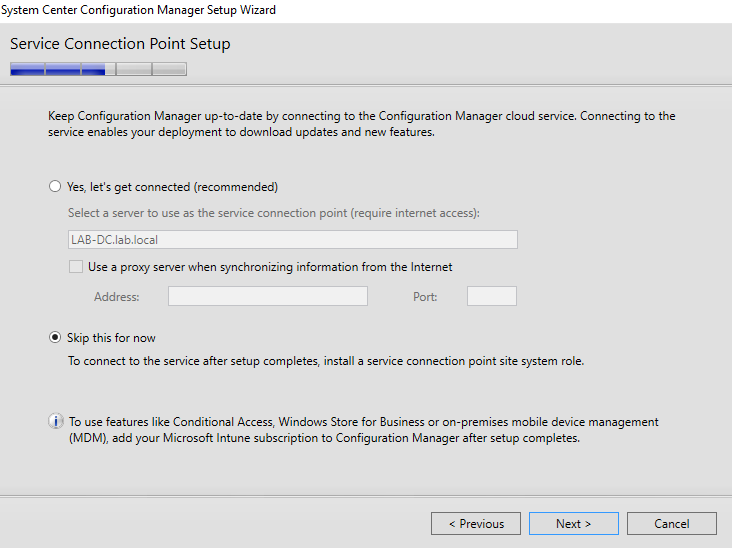
I also do not plan to use any cloud services (no internet access in my test lab anyway), so I’ll skip this step.
Click next on the summary page. SCCM setup will perform some prerequisite checks, to ensure all requirements are met.
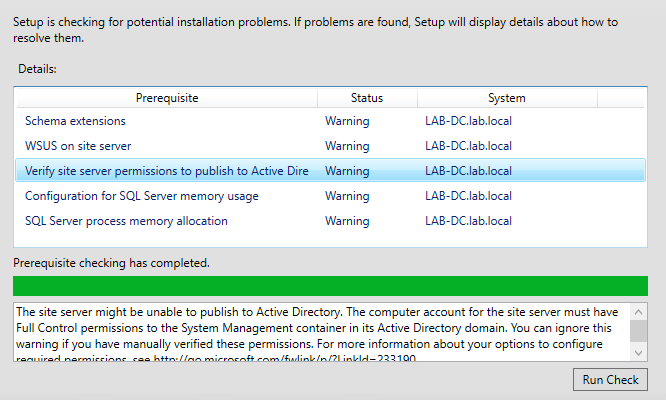
There will be a few warnings found, which is fine in most cases. However 2 of these, we want to fix.
Extend AD schema
In the mounted ISO drive, browse to the folder SMSSETUP\BIN\X64. Run the file ExtADSch.exe. This generates no output, but the log file ExtADSch.log in generated in the root of your C: drive.

Permission to publish to AD
There are 2 things we need to do here. First, we need to create the System Management container, and then change the permission of the container. The detailed steps and explanations are available from TechNet, but the simple steps below should be fine.
Launch ADSIEdit.msc
If this is the first time launching ADSIEdit.msc, you will need to choose Action > Connect To
The default naming context appears, and click OK
Expand the node and select CN=System (System Container)
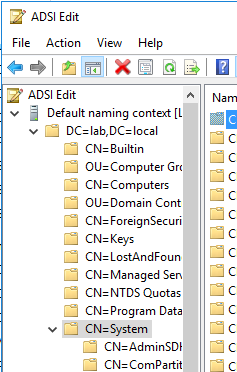
Right click on System and choose New > Object
Select Class of Container and click Next
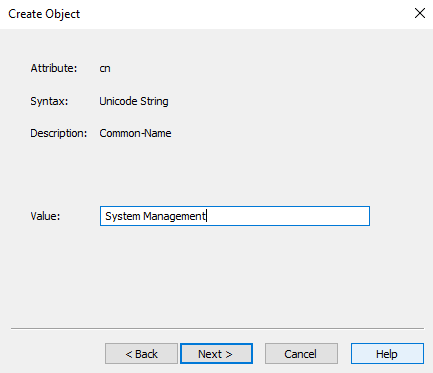
Enter value of System Management and click Next. Then click finish
We also need to change the permissions of this new container.
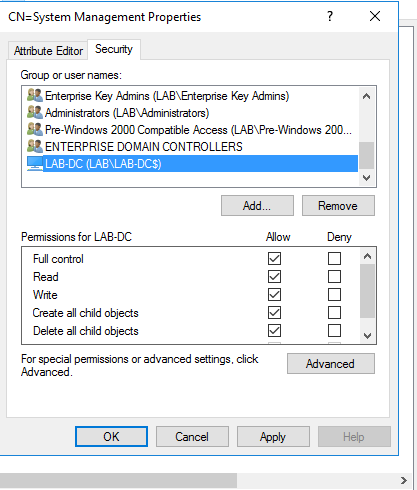
Right click on System Management and choose Edit
In the Security Tab, click Add
Search for the server computer account. You need to change the Object Type to include or only select Computers.
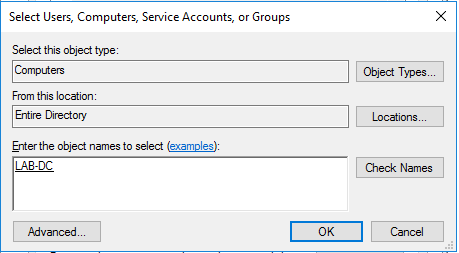
Enter Lab-DC and click Check Names. Click OK
In the Security tab, check Full control. Click OK
Go back to the SCCM setup screen and click Run Check again.
The 2 items should now be off the list. Click Begin install
This will take a while (about 45 minutes for me), so sit back and wait.
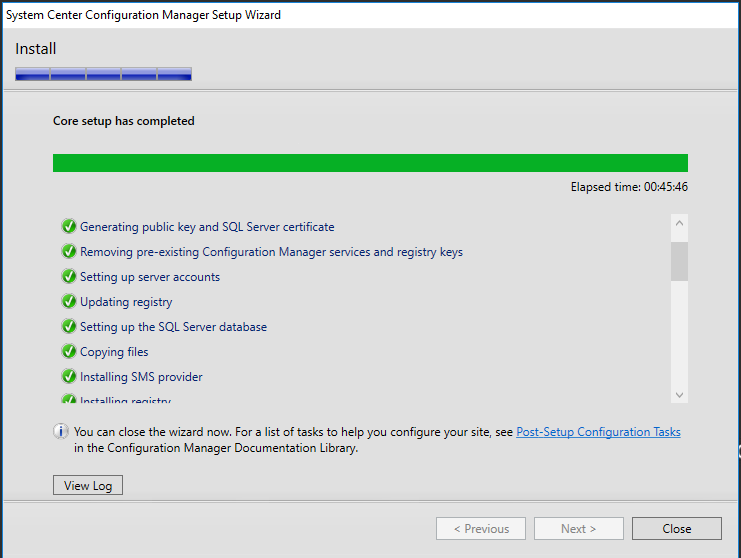
We will conclude part 3 for now, and continue with the rest of the post installation setup in part 4.
Refer to other parts